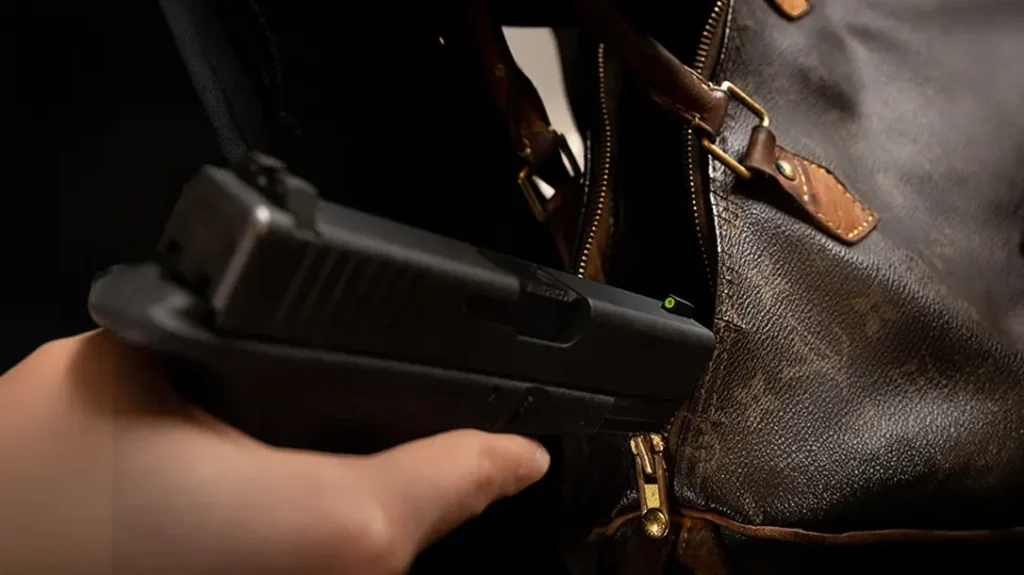
Despite countless reams of regulations and an entire robust government agency devoted to the management of aircraft, if you can bodge together an airplane on your own, the government will graciously allow you to fly it yourself with minimal interference. This same basic concept applies to firearms.
Home Building a Handgun & the ATF
The BATFE has as its very mandate the supervision of guns, and the regulations regarding the manufacture and transfer of firearms are labyrinthine to say the least. However, what is not so well known is that if you build a gun yourself, solely for personal use and have no intent to transfer it, the legal landscape changes fundamentally.
While there are no federal restrictions on building one of these guns up at home for personal use, local laws are another story. It is the responsibility of the user to research local restrictions before embarking on such a project. However, if you live in a free state, there is little more satisfying than building, shooting, and carrying a 1911 that you built yourself.
So long as the basic design is otherwise compliant with federal guidelines, the typical home hobbyist can build a rifle, shotgun, or pistol at home and there remains no federal requirement for registration. You need not place any identifying information or even a serial number on the gun.
The rub has always been that building safe, quality guns is pretty tool-intensive. A proper milling machine can cost tens of thousands of dollars. The skills to program and operate it effectively take years of training and practice. Nowadays, however, the guys at 1911builders.com are offering the most extraordinary gear to build a 1911 pistol at home.
1911builders.com offers a kit that comes with everything you need to build your own 1911.
Legalese
In American firearms law, it is the receiver or frame that is the gun. When factory-made, this component carries the serial number and must be transferred through a licensed gun dealer. The barrel, slide, internal components and so forth are just fluff and may be bought and sold freely through the mail. The arbitrary cutoff between raw material and finished frame has always been 80 percent.
A 1911 frame that is four-fifths completed is tough to quantify. If the sear and hammer pin holes are not drilled, the barrel seat not cut and the frame rails have not been machined, then the otherwise incomplete component is uncontrolled. The holes are easy enough to drill with a jig that bolts to the side of the frame and guides the drill bits. It was the rail cuts and barrel seat that previously kept the homebuilt 1911 out of reach of anyone not blessed with a $50,000 milling machine.
Cutting Metal
The limitations of language preclude my adequately describing how cool the 1911 Phantom Jig is. This is a patent-pending device that affixes to the unfinished 1911 frame. It guides a manually driven carbide cutter to cut the slide rails and barrel seat precisely.
Step 1
First, you bolt the jig in place and use it to carefully drill the two requisite holes from the side. Even the most basic drill press makes this process straightforward. The jig keeps the included bits perfectly aligned, and it may be reused countless times.
Step 2
Next, reorient the Phantom Jig to the top of the frame and you can cut the barrel seat. The process is similar and the details are clearly delineated in the instructions. Be patient and meticulous and the results will amaze you.
Advertisement — Continue Reading Below
It is theoretically possible to cut stainless steel frames with this device, though we opted for aluminum. This softer material is easier to cut and makes for a more lightweight carry gun. The entire investment in time finishing out our aluminum 1911 frame was maybe an afternoon. My daughter and I undertook the project together and had a ball doing it.
The process for finishing the frame is clearly outlined in the instructions, and there are copious resources available online, including on 1911builders.com, should you run into any snags. With care, the resulting 1911 will be as reliable and accurate as a store-bought weapon.
Step 3
Now secure the assembly in a standard shop vise. There is a sliding shuttle that holds the cutter and an adjustment knob that controls the depth. Take the handle and slide it along its track such that the cutter removes a sliver of material about half the thickness of aluminum foil. Turn the knob and lower the cutter by an increment before taking another pass. In a fairly brief period, you’ll have the rails cut as precisely as though they were cut on a mill. The process is a bit tedious but is not difficult at all.
Get the Right Tools
The intricacies of how to build a 1911 pistol are well documented and explored in detail both online and in print. You’ll need a punch (or three), a small non-marring hammer, and some basic tools to go along with a smidgeon of institutional knowledge. We used a set of building fixtures from Present Arms that kept everything going smoothly.
The Present Arms fixtures are milled from a robust, non-marring polymer and are purpose-designed to keep everything in place and provide that third hand you need to get through some of the sticky bits. The build can be undertaken without this device but it certainly makes the process easier.
The internal mechanism goes together fairly smoothly so long as you have some modicum of familiarity with it. The details are available on YouTube. You’ll need that drill press again to drill a 1/8-inch hole to retain the ejector, but this task is painless. Compressing the hammer spring into its housing is a chore but you can use your vise to hold it in place. We placed a small ball bearing over the top when compressing it to push the plunger low enough to get the cross-pin started. Wear safety glasses, lest this powerful spring slip its bonds.
Sights Setting
We opted for TruGlo’s patented TFX sights. TFX stands for “Tritium Fiber-Optic Xtreme,” and these reasonably priced aftermarket sights offer everything you could want in tactical gun sights. Fiber-optic inserts funnel light into the device under daylight conditions. Tritium inserts illuminate the fiber-optic tubes in the dark, offering a glowing sight picture 24/7. These steel sights are simply superb, and they are available for most any handgun whether you built it at home or bought it in a store.
Advertisement — Continue Reading Below
This nifty homebuilt heater grouped phenomenally well right from the outset. The slide-to-frame fit feels like greased glass and the crisp single-action trigger is simply divine. I had to tweak the safety a smidge with my Dremel tool to loosen it up, but I left everything else as it came. Reliability was 100 percent with three different brands of ammunition and maintenance is awfully straightforward once you literally know every piece of the gun, inside and out.
The resulting pistol is remarkably light and accepts any standard accessory on its railed dustcover. As the slide/frame interface is stainless steel on aluminum, keep the gun lubed well with quality gun oil until it breaks in to prevent any galling of the rail surfaces. I was genuinely amazed at how well this homebuilt pistol looked and shot.
Parting Pointers
It takes a little mechanical aptitude to pull off this project, but it really requires more patience than skill. So long as you don’t rush anything, the build is within reach of anyone even reasonably handy with tools. You do need a small drill press but only for about five minutes. Borrow time on somebody else’s or just buy a cheap one for yourself. You’ll use it for other stuff eventually.
At the end of the day, it is incredibly satisfying to build a 1911 pistol. Truth be known, anybody really serious about guns should build one of these just for the novelty of the thing. Legally building a sterile firearm that has no markings or serial number adds mystique to any collection.
I have seen some cool stuff in my time. However, the Phantom Jig may just be the coolest gun idea I’ve ever seen. The end result is utterly professional and the extraordinary sense of personal satisfaction is tough to describe. The gun actually shoots as well as the high-end commercial 1911s in my personal collection. Additionally, the overall price, even with the Phantom Jig, is comparable to a mid-range commercial 1911 pistol. Build one yourself or get together with a few like-minded friends and share a jig.