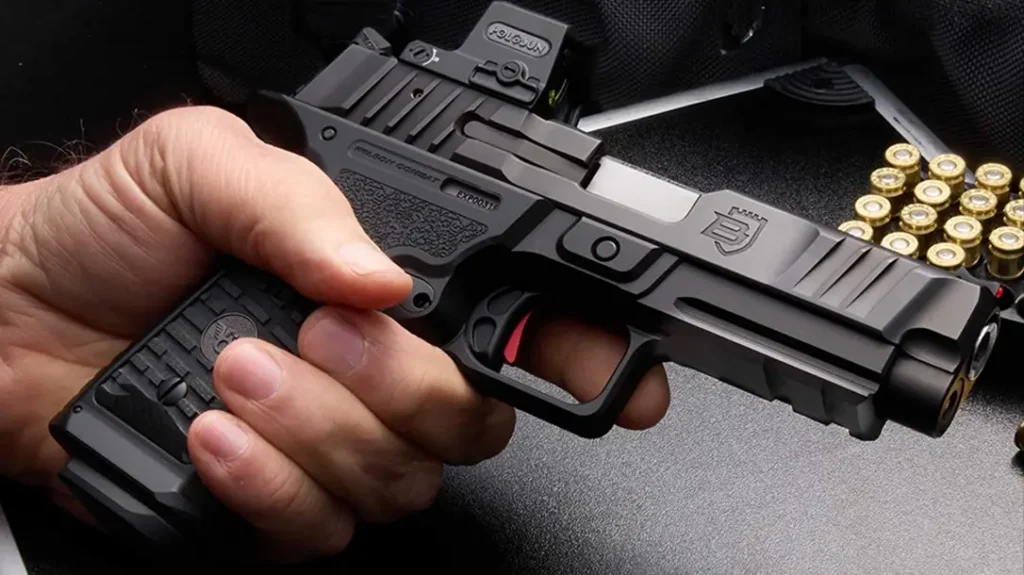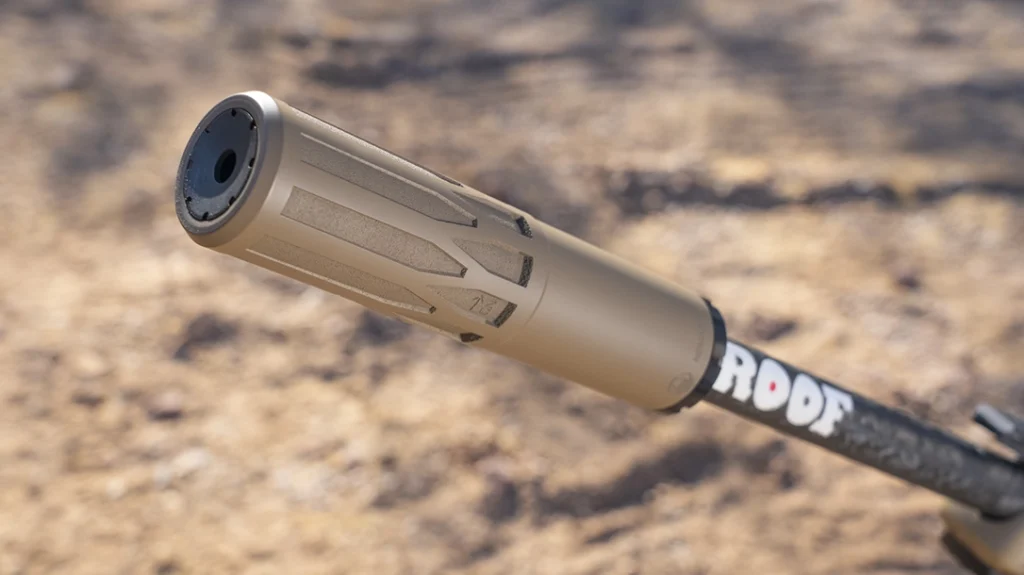
Close Quarters Battle (CQB) handgun training techniques are specifically designed for engaging targets in confined spaces or close-quarters combat scenarios. In such situations, speed, accuracy, and decisive action are paramount. CQB handgun training techniques focus on rapid target acquisition, efficient movement, and maintaining situational awareness. Shooters are trained to adopt a low and stable shooting stance, ensuring a solid base while minimizing exposure to potential threats. Effective use of cover and concealment is emphasized, allowing for quick transitions between engagement points. Close-quarters techniques are employed to clear rooms and corners, ensuring 360-degree awareness and minimizing blind spots. Additionally, proper use of lights and lasers, effective communication with teammates, and an emphasis on threat identification are key components of CQB handgun techniques. In doing so, operators can navigate and engage threats in close-quarters environments while maximizing their chances of success and survivability.
The truth about gunfights with handguns is that they often more closely resemble a fistfight. Because handguns are so prevalent, this is the kind of weapon officers must train for in an attack. It’s imperative for officers to develop skills to work within arm’s reach.
The most successful people in dealing with violent encounters are those who can execute the fundamentals rapidly and without hesitation. I tend to gravitate to simple, proven techniques that work best within the compressed timeframes of a violent encounter. I teach three techniques for dealing with both weapon retention and shooting within arm’s distance.
Advertisement — Continue Reading Below
General Purpose CQB Handgun Training Techniques
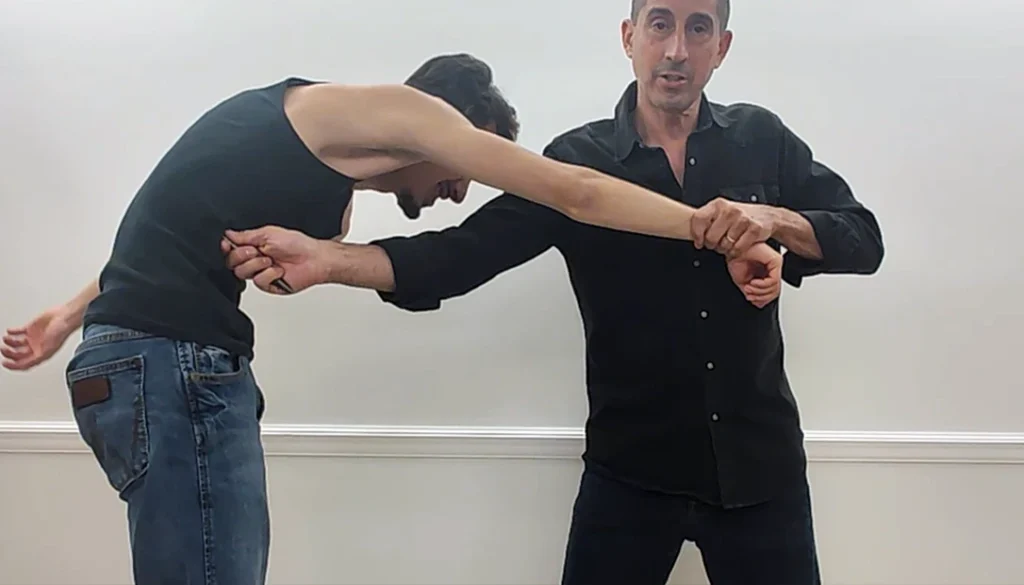
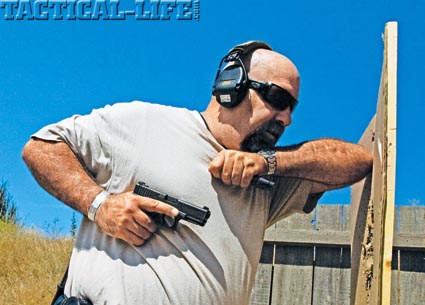
A general purpose training technique that works well is to draw or retract the handgun to a position just under the pectoral muscles and offset to the side. I use the base of my shooting hand to index into my body to keep this position consistent. You orient your handgun outward in order to allow it to function without interfering with the slide or cylinder movement. I like this index position because it works well with both revolvers and semi-auto pistols. It allows for a very strong, locked grip on the handgun. I use my support hand to further lock the pistol in if the hand is free. Often, I have a flashlight in my support hand, which will lock into a Harries technique with the primary hand.
If an attempt is made to disarm the firearm, you can use your hips, hands, and entire upper body to rotate the pistol out of the opponent’s hands. This technique should be used with a very aggressive and strong body position to allow your entire body to maintain balance and aggressiveness. Having the pistol retracted and out of reach of an opponent will prevent an attack yet allow for the handgun to be effectively used. This position also allows you to use your elbows, combined with hip rotation, to strike and create distance.
Advertisement — Continue Reading Below
Retreating
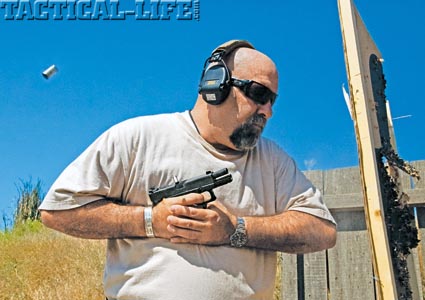
One of the most well-known techniques taught for close-quarters shooting is known as the “speed rock.” The “speed rock” is usually taught as having your feet and body squared, body arched back at the hips, support hand raised, and primary hand firing the handgun as it clears the holster and is angled towards the attacker’s upper torso by your arching body. Recently, it has become popular to discount this technique by some trainers who lack the understanding of where and why this technique is effective. Many people teach and use this technique as a general-purpose technique. It is definitely lacking in this regard because of the off-balance body positioning that is not advantageous in repelling a violent physical attack.
Where the speed rock excels is as a retreating technique. It is best utilized when being forced backward while trying to build distance. The real world is filled with obstructions, walls, furniture, and other “Murphy’s Law”-type items. The body positioning of the “speed rock” is used to create distance out of nothing. I have had the opportunity to spend some good training time with a World Fast Draw Association champion. The draw stroke and firing process is very similar to what is used in the speed rock. This is because the firearm has very little movement itself, and body movement is used to assist the draw and firing of the handgun.
Advertisement — Continue Reading Below
In the real world, even the good guys end up behind the curve and backpedaling. You may end up against an obstacle or pinned into an area where you can’t escape. At this point, the speed rock allows you to build just enough distance so you can draw and fire. The speed rock is very effective for getting a gun into a fight while under attack.
Advancing
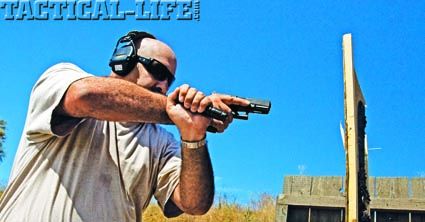
I was exposed to a technique many years ago that I have used with great success. Essentially, this technique uses the hand position for general-purpose weapon retention with the firing hand. However, it makes better use of the support hand for both protecting the pistol and driving opponents away from you. In this advancing position, you hold your support arm just below your chin, bent back towards you to form a “V” with the point forward. This technique is of very limited use for most people, but for those in positions where you are required to aggressively close on bad guys, this technique can be very effective.
Like most techniques, when taught wrong, it is lacking. If you simply assume this position and stand there, an opponent can use their hands to move you off-line or push the extended arm downward. When used with extreme forward drive and just prior to impact, the opponent cannot react to it. This flows into the other situation where it excels. When going through doors as the first man on a team, I would use the tricep area of my support arm in the “V” to drive the door completely open for my fellow officers/agents while protecting my pistol. This allowed for instant engagement of any bad guys just inside the door and to clear them out.
Advertisement — Continue Reading Below
Another benefit is that it is very easy to transition from a Harries flashlight technique to this position and back. Any technique that cannot be used seamlessly in combination with a handheld light is of little value to me. This is a very advanced technique with limited application. It does not work well with compensated firearms and can be an issue with “blasty” revolvers. Be very careful when working with it.
Training
Nothing can replace solid, professional training for CQB handgun techniques. There are some very well-established subject matter experts on this type of shooting. Spend some time investigating an instructor’s background. This ensures that they have the experience to safely and efficiently teach close-quarters shooting techniques. Professional training is a great investment and will pay off in spades.